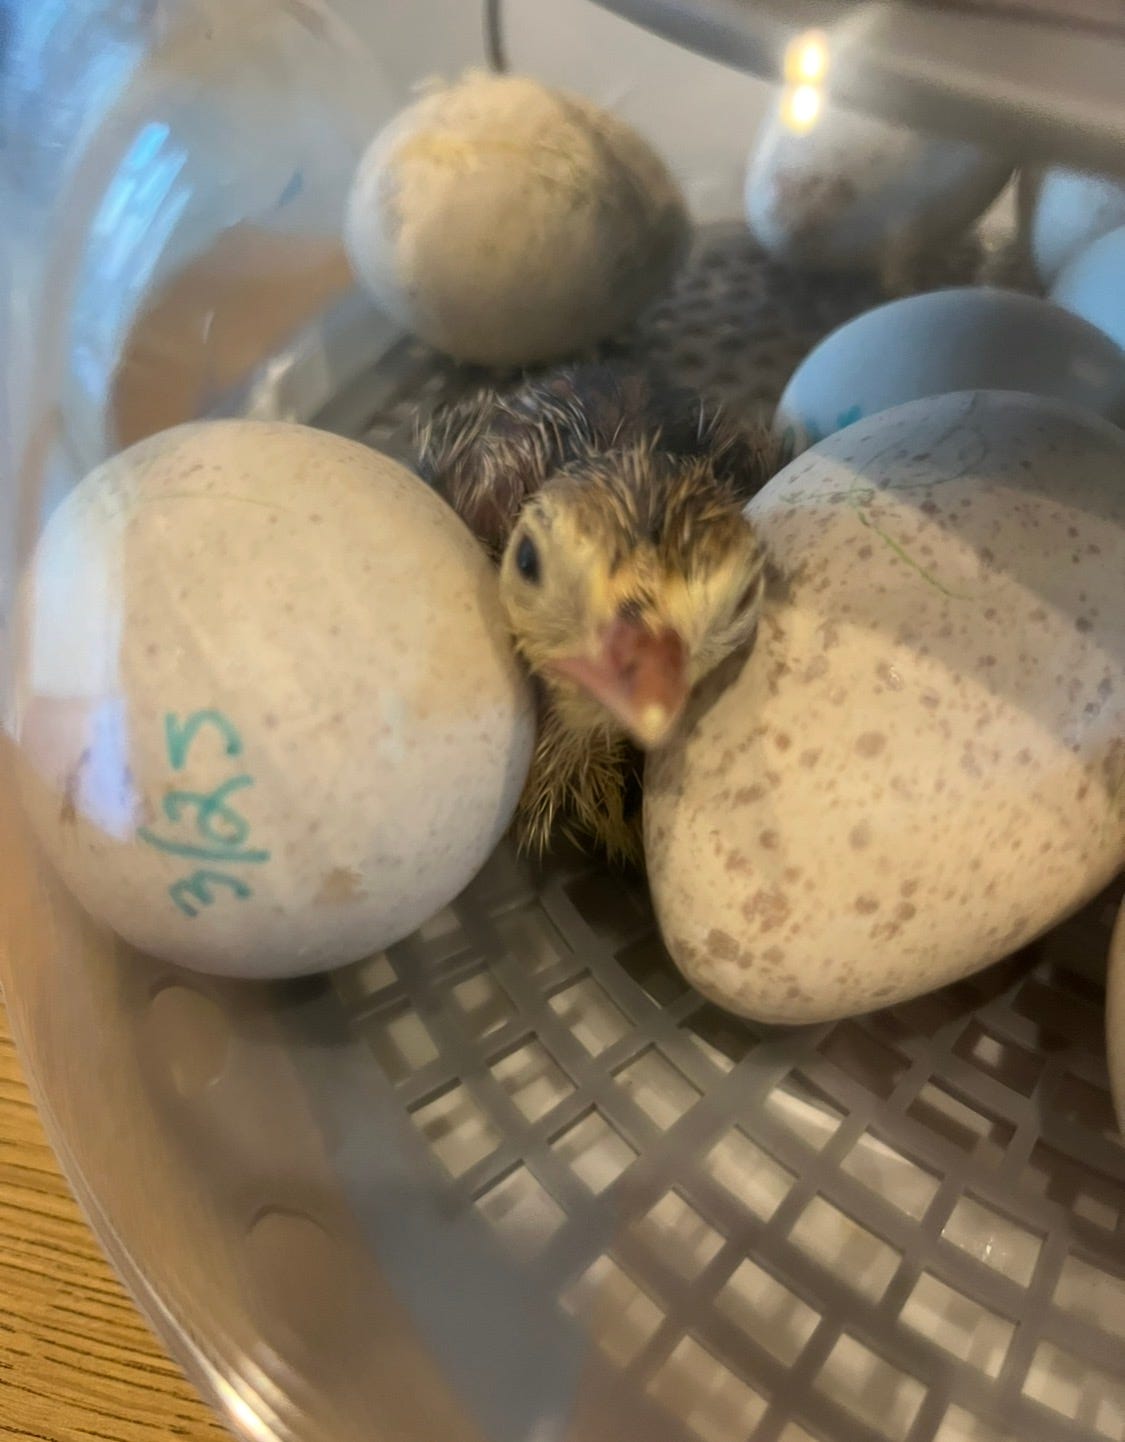
Incubating eggs
Nurture Right or Nature?

For awhile now I’ve been wanting to write an updated article about incubating to add on to my previous post. I have a bit more experience under my belt by now, with different types of eggs and comparing broody hen to incubator results. For organization sake, I’ll divide this post into three topics and start with a disclaimer:
**I am not sponsored by any brands or companies and only referenced the Nurture Right or Manna Pro incubator because I have two and have used them the most when hatching. They are also widely available at rural feed stores and online. I have used a small styrofoam incubator that belongs to a high school teacher for my hatching projects done at the local high school. That one worked well enough for what we wanted, but personally I don’t like the styrofoam because the temp/humidity can fluctuate quite a lot and they are hard to clean out if you’ve had a nasty egg. I don’t have the wherewithal for the big cabinet incubators, either, so can’t speak to what it’s like to use those.** Okay, disclaimer finished.
Part One: The Eggs
I have incubated turkey, loads of duck, goose, Serama chicken and most recently quail eggs. I was able to find some mystery eggs in the baseboard of an old building and hatch those (I suspect gecko but could never confirm as the hatchlings were too small for my trail cam to record). But since “incubating” those eggs was a tupperware with shavings and a slotted top in our warm summer garage I would mist with water every day…I consider those a separate acheivement.
Instead of describing every single suggestion on collecting and storing, in the interest of keeping this shorter, I will describe what has worked for me. There are many other ways of doing the things I do, so your success will depend more on observing and learning by trial and unfortunately some errors what works for your own situation.
Incubating my own eggs or collecting for someone else to hatch begins with collection. Every day I check the known nest sites and eggs are examined, dated and returned to the nest (the exception being when I do NOT want any more ladies sitting on nests…apparently broodiness is contagious, six rounds of naturally hatched ducklings later!). Any broken or excessively dirty eggs get donated to my crow security team as is - they can puncture, eat and sometimes even carry off eggs to enjoy somewhere else. I store the eggs at indoor room temp (70ish degrees) on their sides and gently rotate them once or twice a day. If I am shipping eggs to someone to hatch, then I do pack them pointy side down to help protect the air sac as much as possible, but for long term storage I prefer on the side like in nature. I’ve only had one interesting duck egg that one of my hens was sitting on that developed an air sac on one entire side of the egg instead of the end. I considered tossing it, but chose to candle regularly and see how/if it developed. It did and hatched successfully, so things don’t always have to be picture perfect and still turn out alright.
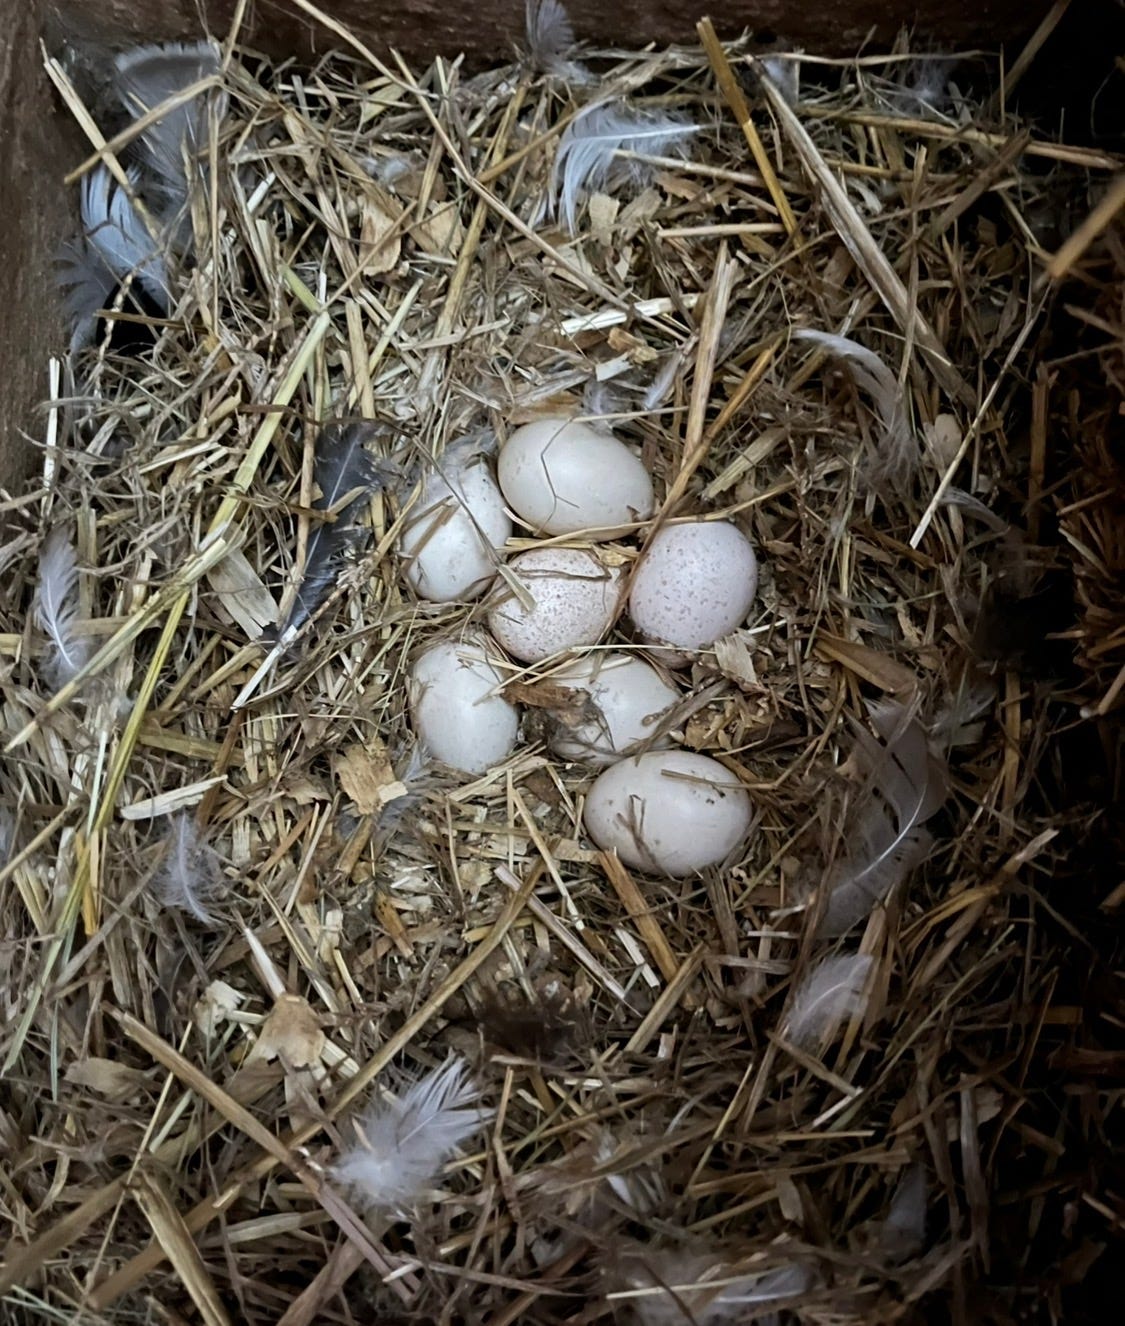
I usually have several different types of eggs going inside the same incubator, so I rarely use the included turning trays. I’ve done staggered hatches (do not recommend, the babies are all different ages and sizes and makes brooding trickier than everyone uniform in age). I’ve also added eggs later with a shorter hatch time - the most important factor here is chick size and behavior after hatch. Ducks and geese will pick at each other during and after hatch which is normal, helps stimulate the hatchling to move around and cleans them off somewhat. Of course I’m observing in case the newest chick is not doing well or getting excessively harassed by others. The Serama chicks do this some, but have never been aggressive in my experience and are the chicks most interested in being with mom/people after hatching. The quail were the absolute mercenaries of the hatching and brooding world - they continuously and excessively pecked at chicks that hatch with umbilicus attached, even after coating it with styptic powder. I had to separate those chicks and they ended up dying randomly after a few days anyway, so there might have been some deformity or weakness in those chicks specifically since hatch. So of all this mix, quail were the ones I would only incubate with other quail, monitor closely, and be prepared for their carnivorous behavior even when tiny.
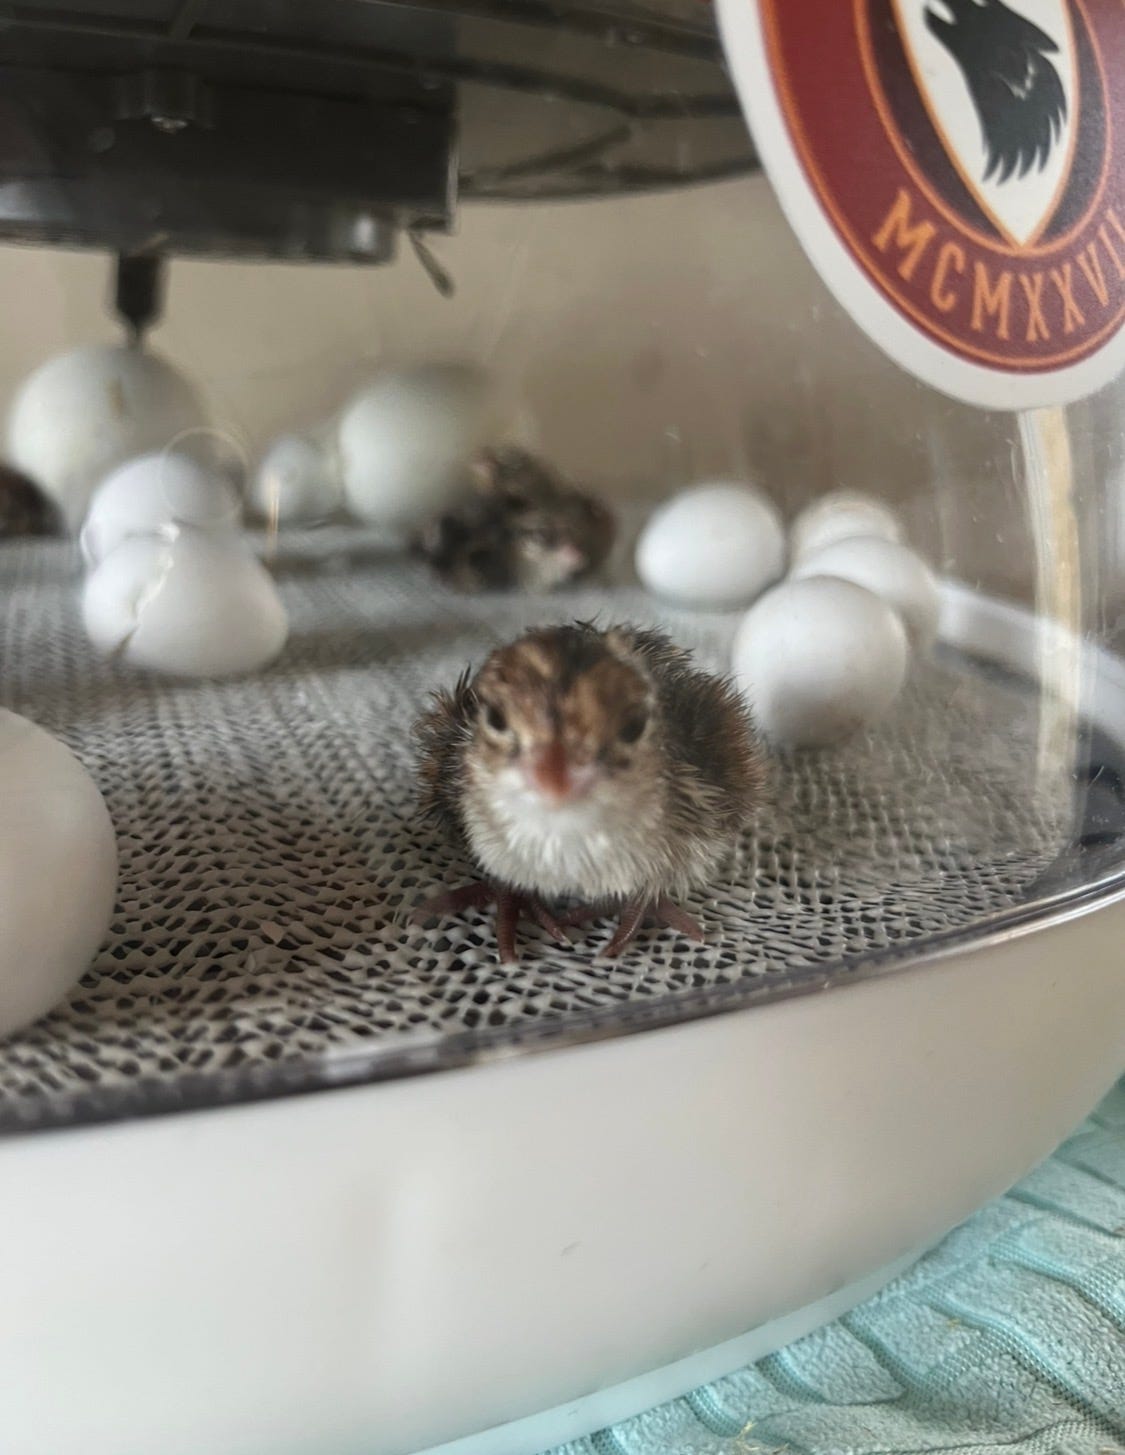
On the subject of trays, my incubator came with a standard tray that fits 22 chicken or average duck eggs and rotates every couple of minutes all day and night. That same tray does not accommodate turkey and goose eggs, but I did try some Serama eggs with that same tray. It ends up turning those small eggs end over end quite roughly and very often compared to a sitting hen, so I turn those and the quail by hand instead. The morning is for turning the eggs and adding more water to the incubator and at night I usually do a round of candling the eggs which counts as turning. The hens seem to move the eggs in two ways: one just a gentle jiggling as she settles on the nest and adjusts position and a different way while she’s still laying or entering/exiting the nest and retrieving eggs that have rolled away. Her feet and beak will roll the eggs on their sides to the place she wants them in and this type of movement is the one I emulate while turning. When you first start incubating, it’s helpful to mark the eggs’ sides so you know/can remember if they’ve been turned. The eggs should already be dated anyway and labeled in accordance with your hatch log, but marking the sides are easily recognizable.
When I candle at night, the same gentle rolling motion happens naturally as I try to see into the egg, so that counts as a turn. I hardly ever use the included candler any more, I’ve discovered an LED flashlight or penlight in the dark, holding the eggs in my non-dominant hand works best for different size and color eggs. Cupping your fingers around the egg and shining from the air sac down into the egg helps you see best. As the eggs develop, you should be able to see a clearly defined air sac that gets bigger as the egg gets closer to hatch. A large air sac but with too much “juice” visible has probably quit. If you suspect a quitter, shine from the side of the egg or the point up, if you see a lack of veins, “floaties”, a greenish or yellow blob instead of dark or red, you want to discard that egg.


It’s not a fun business, but performing “eggtopsies” after candling has really helped me be able to visualize what I’m seeing when candling. I suggest opening every egg you suspect has quit to see what went wrong. The cleanest way to do this is by putting the egg inside a sealed baggie before you get to cracking. I’ve kept some pretty nasty messes contained this way and you can still see through the plastic. My Seramas are notorious for not moving very much during candling a late stage egg, so I’ve incorrectly assumed they had quit only to discover on eggtopsy that they were still alive. Not enjoyable, but my Serama eggs get a giant benefit of the doubt now, I continue incubating them even when I don’t see movement while candling. The Serama ladies are also notorious for adding an egg or two to an already going nest while the sitter is grabbing a snack, so I’ve had several stragglers hatch a week! after their siblings do.
This is why it’s very important to candle a hen’s clutch of eggs when you can. She will be very determined to sit, even on eggs that have broken, aren’t fertile, or are starting to go bad. The last reason is the most important, since ants and mites/lice will be drawn to the nest and a rotten egg will get all over the other eggs and the hen. You should also get to where you can candle quickly while mom is eating or swimming and determine how close the eggs are to hatching. You might even find a chick already in the nest, waiting for mom to come back! My Muscovy duck looooves to sit on eggs (hers are never fertile because my mallard drakes ignore her, so I give her other hens’ eggs to hatch), but she has been known to be out and about while eggs have pipped and even hatched.
Part Two: The Temperature
For the next two parts, I highly recommend a second temp/hygrometer for the inside of the incubator. For convenience I use a small cube that can ride around the turn tray or be placed in different places inside my incubator and sends a readout to my phone. This way you can compare to what the display is saying (usually fluctuates or is different) and adjust accordingly. This is how I discovered that the inside of the incubator and in different places was not what the display said.
Most temp recommendations for incubating suggest 99.5 degrees, but setting your incubator to that setting will likely result in an inside temp that is too low. This can delay hatch, cause eggs to quit or hatching problems like stuck chicks or under developed chicks. The sweet spot for my incubator is actually setting the display to 100.5, which leads to a consistent 99-100 inside. The inner ring (right under the fan) of my incubator tends to be a little bit cooler than the outer ring, so bumping up the temp leads to the consistent, sustained heat the eggs need to begin developing. I also put my incubators on a cloth pad for drying dishes to insulate the bottom of the incubator and clean up spills (because I’ve never had to do that, right?).
Eggs can sit for quite some time in nature while mom is collecting enough to go broody. This can vary wildly by bird: my geese lay every other or 2 days and collect about 6 eggs. The turkeys lay every other day and like to collect 15-20. The Seramas are super broody and like to take over a nest with one or even two eggs to begin sitting (until friend comes along and adds a few more…insufferable!). A lot of incubating/hatching mistakes can be made at this stage - as a human, I see an egg and think - she should be sitting! Where did she go? The egg will go bad! Nope, just date it and put it back if the nest is in a good area. If it’s not, then collect all the eggs you find and try to provide her with an approved area and nesting materials.
If the eggs are unfertilized or for eating, date it and put it back. Once you get three eggs, start removing the oldest one. If you take all of the eggs at once, “a predator” got her nest and she will move her eggs somewhere else. Or if she’s a Cayuga duck, this is her M.O. anyway, she likes to keep you guessing where she’s laying despite having several perfectly good nest options inside the barn!
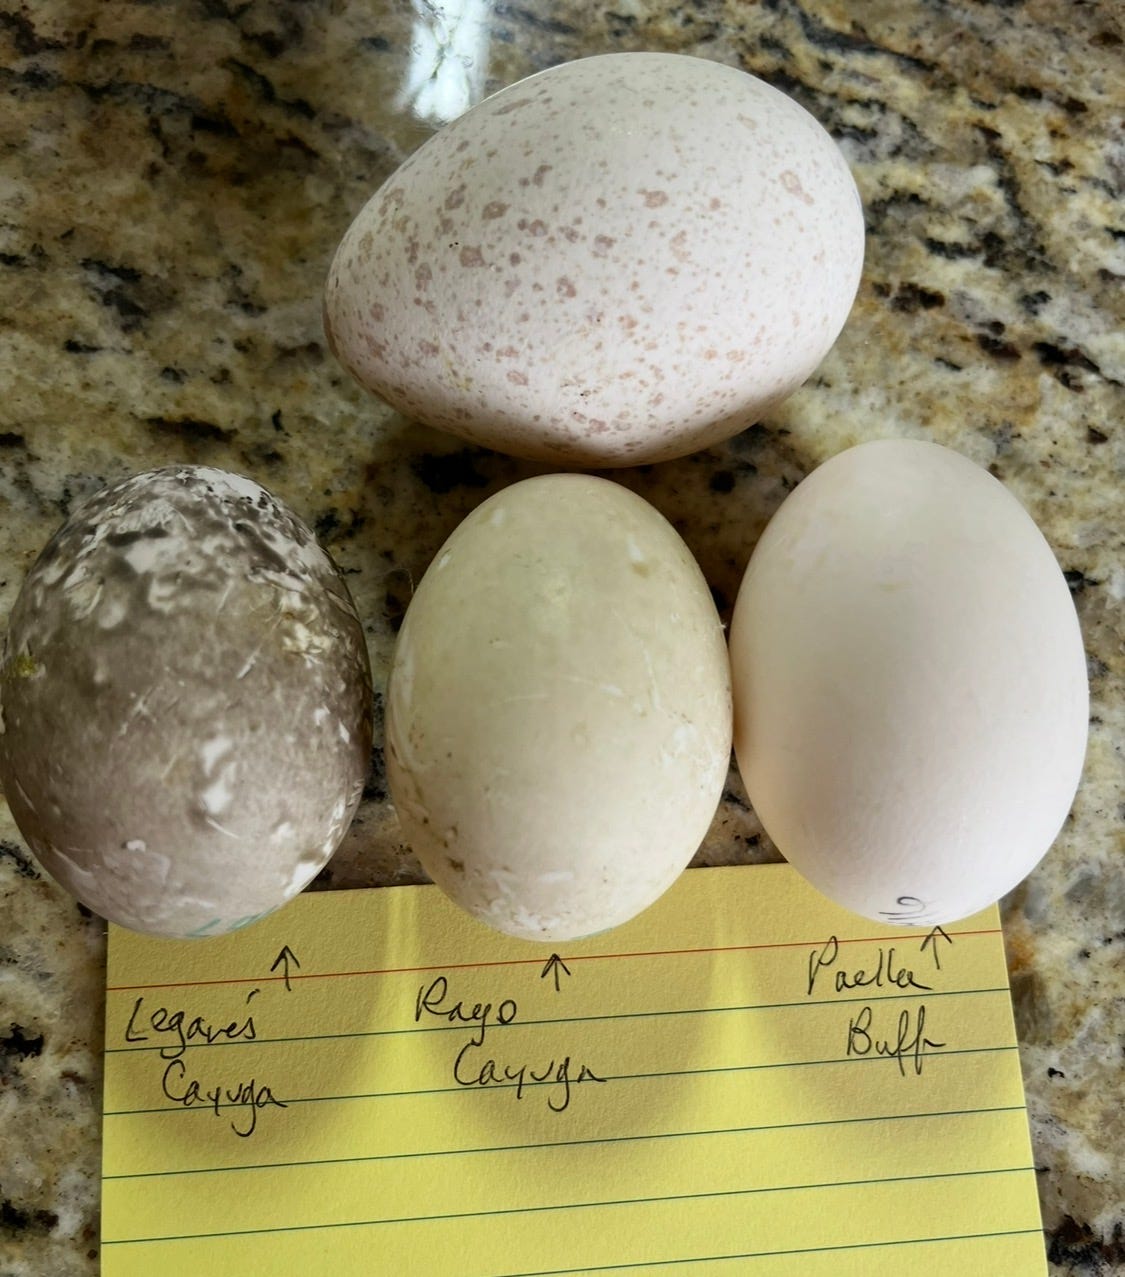
Speaking of nests, know which materials fit your bird the best, as a species but also as individuals. The turkeys find a remote location usually at the base of a tree and make a small depression in the ground to lay. They may use leaves to cover the eggs when they leave as they collect enough, but it doesn’t have the typical nest shape. The waterfowl like to use straw or hay to build up the nest sides, as much as I like to use shavings as bedding for the waterfowl because of its absorbency, shavings don’t stack up the way grass does. The ducks will also fully cover the eggs when they leave and there will usually be a lot of feathers they’ve arranged in the nest. The Seramas use some recycled milk jugs I have in their coop for eggs with an opening cut in the front. I have tried putting straw in there for them, but they end up eating it. I haven’t had any egg losses from them incubating without straw, so I don’t worry about them very much. The quails are too small yet for me to consider what nests they might prefer, but I’m assuming it would be similar to the turkeys and chickens since they are also ground birds. Back to my sneaky Cayuga girl…despite all of the effort and planning I’ve put into making her a nice nest, she seemed to prefer laying in/under branches (in our woodpile and under our dried Christmas tree we chopped up for firewood). I finally had the idea to bring Christmas to her and brought the tree top to her stall to see if she’d like to lay under branches but inside the barn. A little bit of spoiling her means I don’t have to hunt for her or her nests outside.
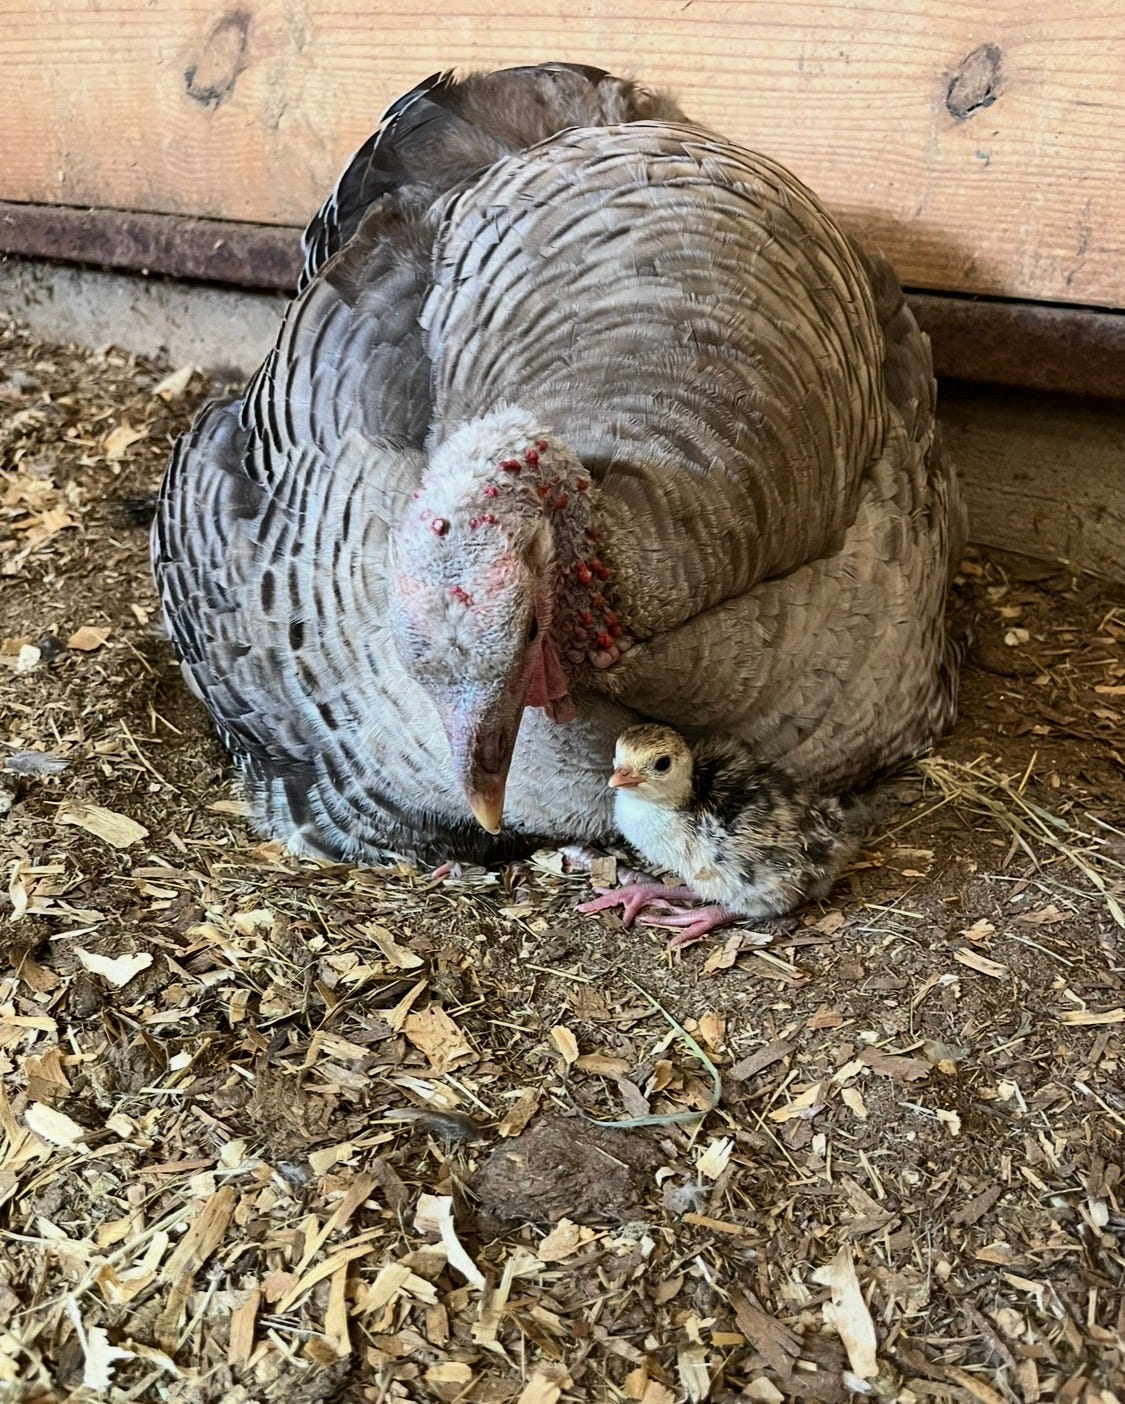
Another consideration for having a mixed flock is the time of day they each lay. I can (usually) keep my duck eggs contained to the barn since they lay in the early morning so every egg is situated by the time I come out to feed. The turkeys tend to lay in the afternoon and you’ll see one lady wander off from the flock and disappear for a few hours. She’s got a nest and trying to lay enough eggs to sit (one or two dozen, if predators don’t find them first). All bets are off on my geese: Pilgrims aren’t known for laying many eggs or having great fertility (probably why they’re on the threatened list!) and she’s laid eggs at any time during the day and even in the pool (?). My Serama chickens tend to lay in the early afternoon and then broadcast the egg song all across six counties once they have, so that’s easy to know.
So I seem to have wandered back to Part One: Eggs, but this is relevant to the temperature. When I incubate eggs, I have a better hatch rate when the eggs have been collected, stored and started in the same way. Some people store eggs around 50F in a cellar type storage and some even claim to be able to hatch refrigerated eggs. I don’t have a cellar and haven’t wanted to waste good eggs on attempting the refrigerating first, so I store the eggs at indoor room temp (70F in our house! any warmer might make the eggs start to develop, then fail). I gently rotate them two or three times a day during storage.
If a hen is sitting the eggs, the outdoor temp and humidity can really affect the eggs. Spring hatches are the most successful - winter can freeze the eggs and summer can cause too elevated temps that destroy the developing eggs. My turkey ladies seem better at regulating this by hovering above the nest on the hotter days, but the ducks usually line their nests with feathers and that can keep the nest very warm. Ducks also have more body fat and stack the nest sides tall to keep in heat, detrimental in Texas summer. I am not usually hatching or incubating in the fall as most of my ladies slow down production anyway and I’m planning flock size and structure for the winter and next spring instead of adding new members.
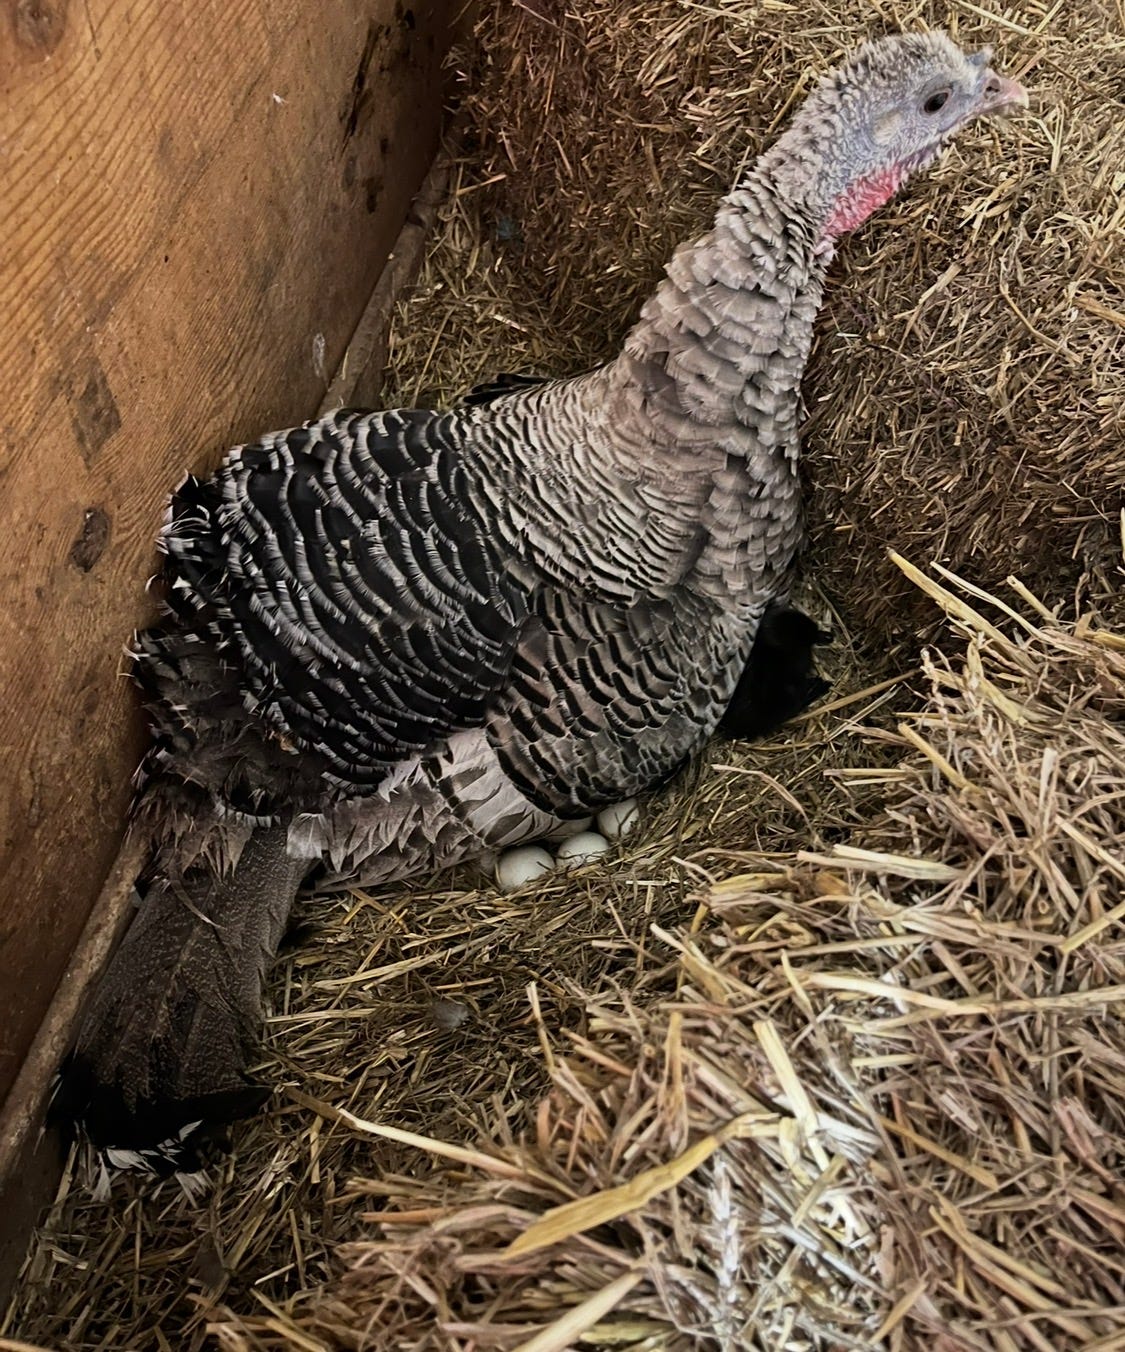
The key with temperature is adequate heat and consistency. For incubation, I actually set the display higher than the recommended 99.5F to 100.5F. The eggs need a consistent over 98/99F to develop and hatch successfully and the interior of the incubator needs a separate monitoring system to ensure that, or you’ll have quitters and babies that struggle to hatch. I set the display to hatch days plus one (the day I put the eggs in) because my incubator will struggle to heat eggs to 100F that have been at 70F. So the first day is a freebie and I usually don’t mess with the eggs except for turning for a week. I candle everything after that first week and discard any that don’t develop (infertile). There are always a few of these, all other things exactly the same, and is not a sign of failure or low hatch rate. It’s normal and expected. After that week with only developing eggs, my goose eggs enter the “mist and cool” stage of incubating. Once a day I remove the eggs, mist them with room temp water and return to them to the incubator. This counts as a turn and is supposed to emulate momma goose getting off the nest, going for a swim, and coming back with moist feathers. I don’t take as long to do this because if I walk away, I could forget to return the eggs to the incubator and could lose them, so mine get an express mist and cool. I’m not sure how/if this helps hatch rate, but is one of those things I’m afraid to not do and then suffer losses. This only lasts about two weeks because the last week to hatch when the air cell is very large and the eggs start to settle on their own in the same position, I stop mist and cool as well as turning.
Other than the goose eggs, especially if you have an automatic turn tray the next weeks after first candle are quite boring. I used to candle once a day while I was learning, but now I leave them alone mostly except for turning. If you have a questionable egg during this time, don’t forget to eggtopsy and take pictures while candling and cracking. This will help you visualize what’s inside while candling different eggs.
Under a hen hatching can be quite stressful as an observer. Both the turkeys and my goose have seemed willy-nilly about sitting, sometimes spending all day free ranging and tidying up the nest to sleep on it overnight, or hovering during the day and then flying up to perch with the others at night. If I’m willing to accept some losses (I have better rates with incubator hatching because the factors are more controllable), I let the hens do what they will. You’ll learn quickly which hens are good for hatching and which are too distracted or bad mothers. I’ve had better luck with a broody accepting eggs than live chicks. I prepare the eggs by letting them come to outside temps and wait for the hen to be very interested in the nest before approaching slowly. Flighty hens are less likely to fall for this, but if you have a good one, you can place a test egg gently near her and if she scoops it under, keep giving her eggs and then walk away even if she’s still adjusting the eggs. Sitting there staring at the hen and nest is predator behavior and you don’t want to annoy or stress her into leaving the nest and her new eggs.
Part Three: Humidity
This is such a heavily debated topic of incubating, I will post here my experience having tried “dry hatching”, “stack hatching” and a strict “lockdown” the last few days to hatch. “Dry” hatching simply means you incubate using your ambient humidity and without adding extra water. Indoors in Texas we usually run from 20-30% (make sure your incubator is in a draft-free zone and not on the floor). My incubator also has a small vent on the front -different models work differently- but I always leave the vent fully open. Dry hatching did not work for me and neither did “stack” hatching, which has several layers of eggs that aren’t turned. The stacking could possibly work in the first days before the first candle to bulk-start a lot of eggs so you can then weed out the infertile ones and proceed normally, but I’ve never wanted to hatch so many eggs at one time to try it again.
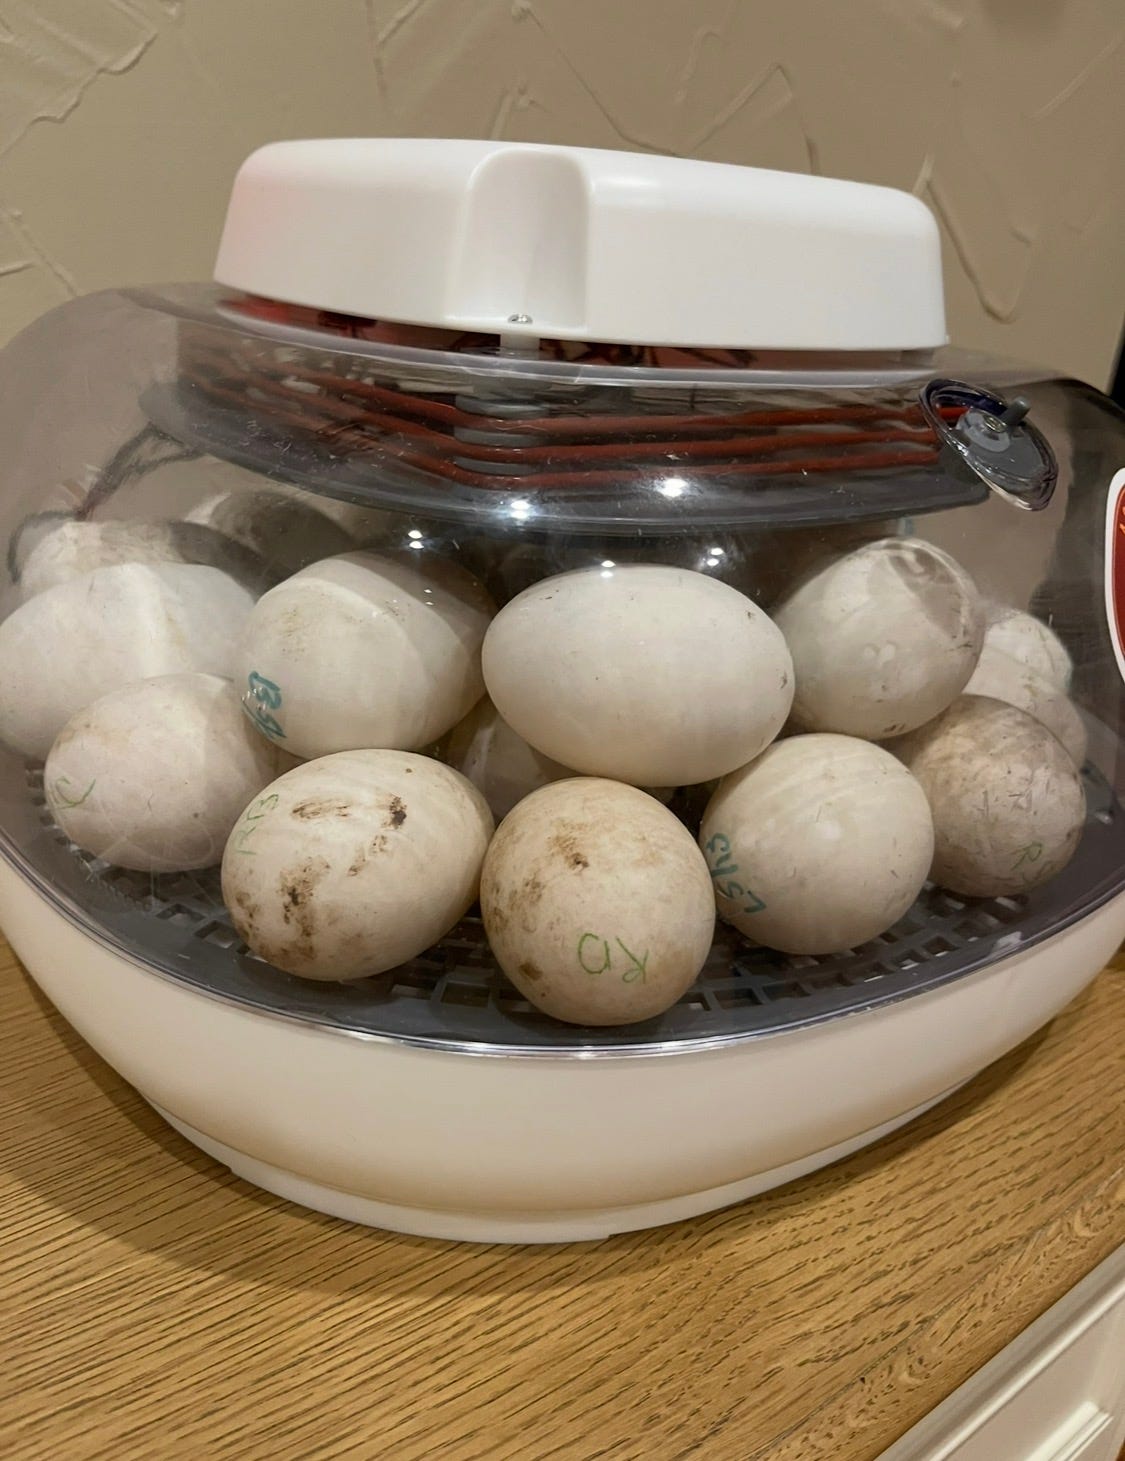
For the eggs I incubate, I aim for the display to read between 40 and 50% for the first weeks. My incubator has two separate channels for water, the inner one is full constantly and the outer one has a covered port until I remove it to add water. Filling both channels with water will raise humidity considerably, even with the vent open. I don’t increase humidity until I see external pips in the shells. Time from pip to hatch can very wildly between species and more so with mixed hatching, so increasing humidity too early can mess up the eggs. This is why I don’t follow a strict lockdown period, either. As hatch approaches, I’m candling at least every night and marking the eggs if I have observations (this one will pip first, likely hatch first) or concerns (this one has pipped on the wrong end “breech” or an egg that is not developing or not at the rate of the others). Once even one egg hatches, a lot of moisture is released inside the incubator and I usually don’t need to add any more water to the channels unless hatching drags on several days.
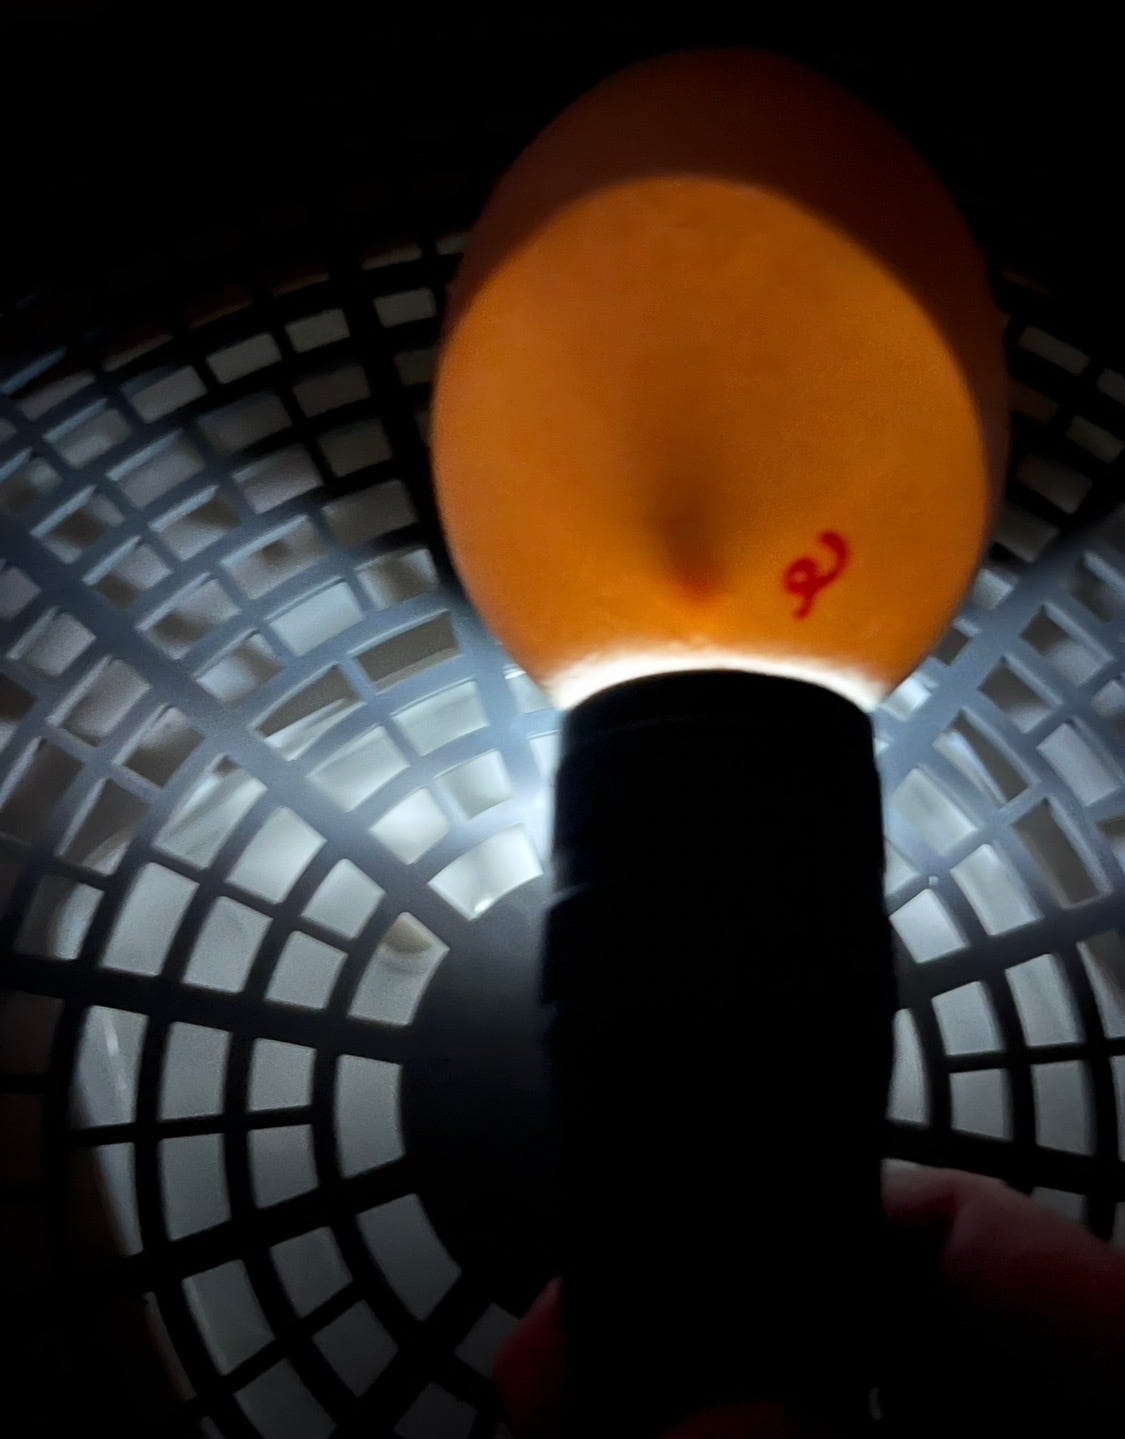
During the middle boring weeks if you see a lot of fluctuations in humidity without adding water, you might have a cracked egg that is leaking. You need to find this egg by candling or sniffing the eggs (yep, it’s a tried and true method that’s immediately accurate) and discard the egg even if it seems like it’s developing normally. Knock on wood - I have not had an egg explode in the incubator because I candle so regularly, but a leaking egg can get nasty fast and affect the other eggs. A leaky egg under a hen also needs to be cleared out quick because it will be jostled much more than the incubated eggs and has a high risk of contaminating the nest, the other eggs and attracting pests. If your hen gets rotten egg goo on her, she may need help getting cleaned off (or be forced to) to not cause her any infections.
Prep for hatching can be as early as the day I put eggs in, depending on the turn method. If I am hand turning, I put down a circle of shelf liner cut to size under the eggs. This keeps the eggs from bumping into each other excessively or beaks and feet from getting caught in the frame of the incubator. It also helps prevents splay leg in the babies since they can get good traction on this nonslip surface. If I am using the automatic turner, I remove the turner once I notice the eggs getting very large air cells or if I see internal pips - put in the shelf liner and replace the eggs.
A strict lockdown may be necessary if your incubator struggles to maintain temp/humidity or to return to the correct settings after being opened. I’ve watched my hens go for a stroll while chicks were hatching or even hatched! and everything went smoothly with the other eggs. If you need to access the incubator during hatching, have a buddy and work quickly to remove injured or dead chicks, eggshells, etc. If you need to work on a chick (say, to apply cornstarch to an umbilicus or remove egg/shells), you can return to them the incubator until you’re ready to move them to the brooder.
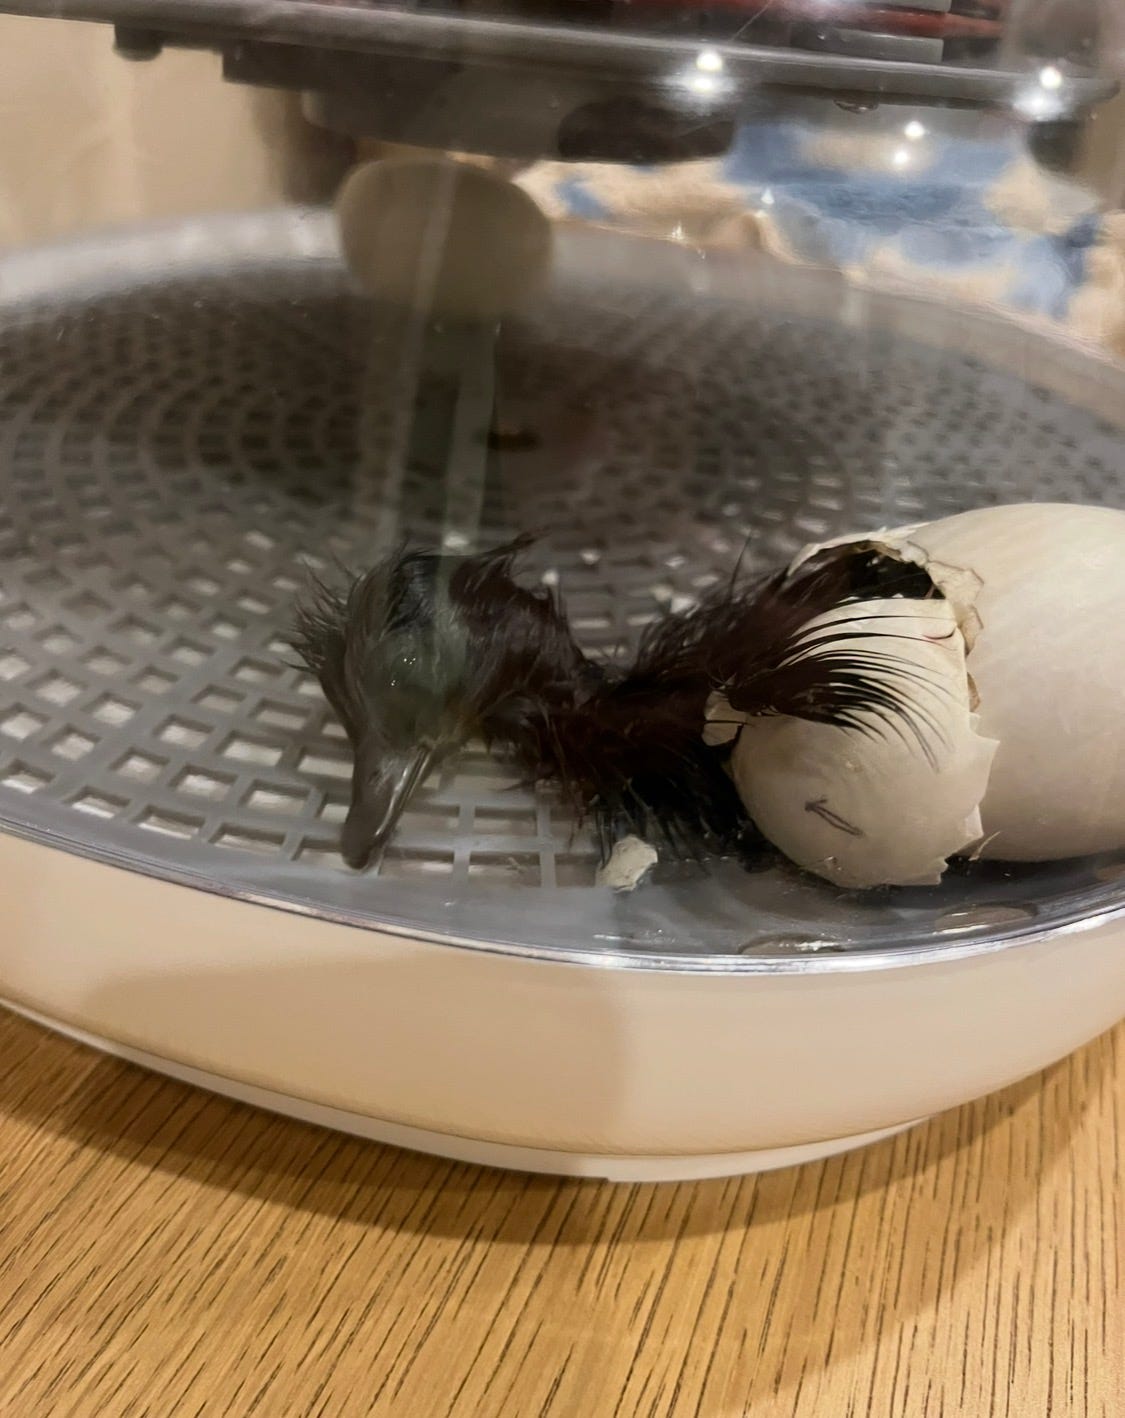
After alllll of this, now you’re ready for my favorite part: the cleanup! Just kidding…I hate this. Ducks are the worst for messy incubators (maybe that’s why mama duck eats so many of the eggshells after hatch?) and the quails were the cleanest (although they did try to eat some of their siblings…tradeoffs). My incubator requires a complex cleaning involving soaking, wipes, qtips and canned air for clearing out the fan blades. You want to make sure all nooks and crannies are well cleaned and dried to prevent anything rotting or infecting your next batch. The hen’s nest should also be removed as soon as everyone is done hatching since the smell and pieces of egg/shell/etc can attract pests and predators. I do a full removal of everything nest and in that area, lay down a good sprinkling of stall refresher and add new bedding on top.
Thanks for hanging in there so long! Hopefully this post will help you have a low stress and enjoyable experience hatching, and make sure to invite me to your Birdie Shower!